今回の記事の内容を理解するために必要なAffinity Designer 2の知識
タップかクリックで開閉します
- レイヤーとは何か
- 移動ツールの使い方
- テキストの入力方法
※上記に関する記事は準備中
- この記事のトップに載せているAffinity Designer 2チュートリアル動画の補足知識
- 言葉の意味やどんなときに使いそうな機能なのかについても初心者なりに考えています
- Affinity Designer 2の変形レイヤーの使い方が画像つきで分かる
- Affinity Designer 2の変形レイヤーを使った作品を参考にできる
- 初めてAffinity Designer 2を使った作品です
Affinity Designer 2で作品をつくる際、イラストや画像の形を調整する変形レイヤーは必ず使います。
今回の記事の後半に載せているテキストを変形させる作品をつくってみただけでも、とても楽しい気分にさせてもらえました。
皆さんも変形レイヤーを使っていろんな作品をつくれるようになるといいですね。
- 2022年12月にAffinity 2ユニバーサルライセンスを購入
- Affinity Designer 2を使って作品をつくったのは、この記事が初めて
- 2022年12月26日の時点では、Affinity Designer 2を使って「自分なりのイラストを描けるようになりたい」という目標を達成するために独学しています
![](https://watatakusan.com/wp-content/uploads/2021/09/watatakuhukidashileft.jpg)
一緒に頑張っていきましょう~。
【デスクトップ版 Affinity Designer 2】変形レイヤーを使う前に知っておいたら役に立つ知識
スケーリングとは
- スケーリング
- 領域の広さに合わせて、テキストや画像を自動的に拡大・縮小させること。
- 比例スケール
- 縦横比を変えずに拡大と縮小をすること
スケーリングや比例スケールは、変形レイヤーで拡大と縮小をするときに使われる言葉です。
変形レイヤーを使うのに必要な移動ツールを選択するショートカットキー
Affinity Designer 2の変形レイヤーを使用し、拡大や縮小をするには移動ツールを選択する必要があります。
半角のvを入力すると、移動ツールを楽に選択可能に。
ショートカットキーを覚えて使えるようにするために、実際にvを入力して移動ツールを選択してみましょう。
![](https://watatakusan.com/wp-content/uploads/2021/09/watatakuhukidashileft.jpg)
僕は10回vを入力して、移動ツールを選択してみたよ。
表示ツールへ移動するショートカットキー
半角のhを入力すると、表示ツールが選択されます。
表示ツールは希望の位置にイラストや画像を配置できてるか確認しやすくなります。
ショートカットキーを覚えて使えるようにするために、実際にhを入力して移動ツールを選択してみましょう。
【超重要】変形レイヤーを使う際に必ず使う移動ツールの場所
左上から少し下(オレンジで囲んでいる部分)の矢印マークが移動ツールを左クリックして選択。
半角のvをPCキーボードで入力することでも選択されます。
![](https://watatakusan.com/wp-content/uploads/2022/12/how-to-use-deformation-layers-in-affinity-designer-2-1-1024x550.png)
【デスクトップ版 Affinity Designer 2】変形レイヤー使い方6つ
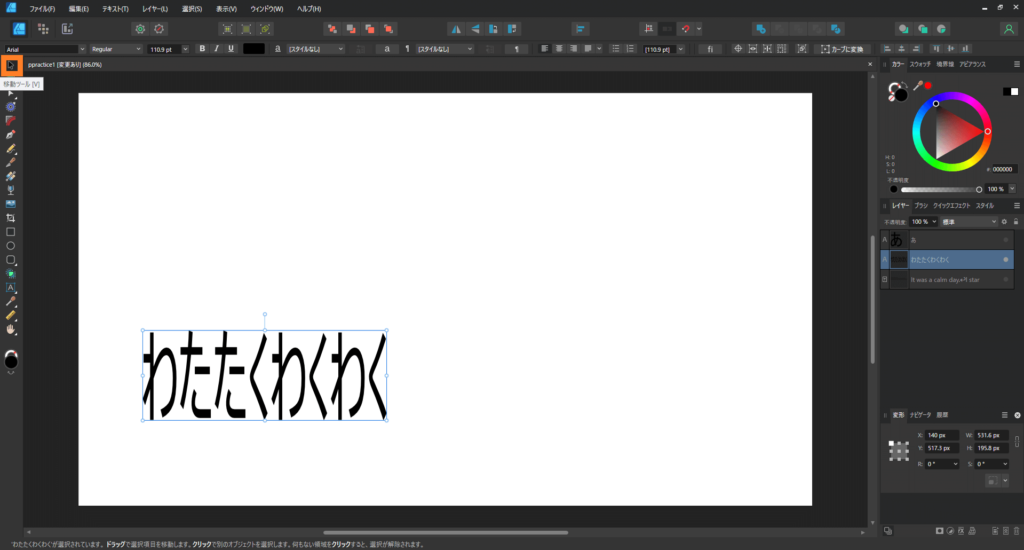
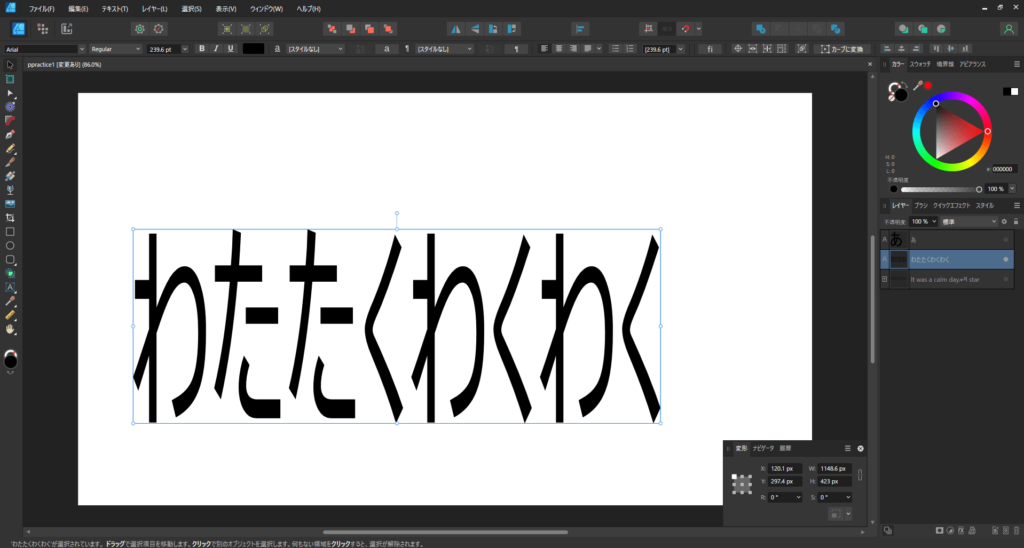
【使い方1】縦横比を変えずに大きさを変える
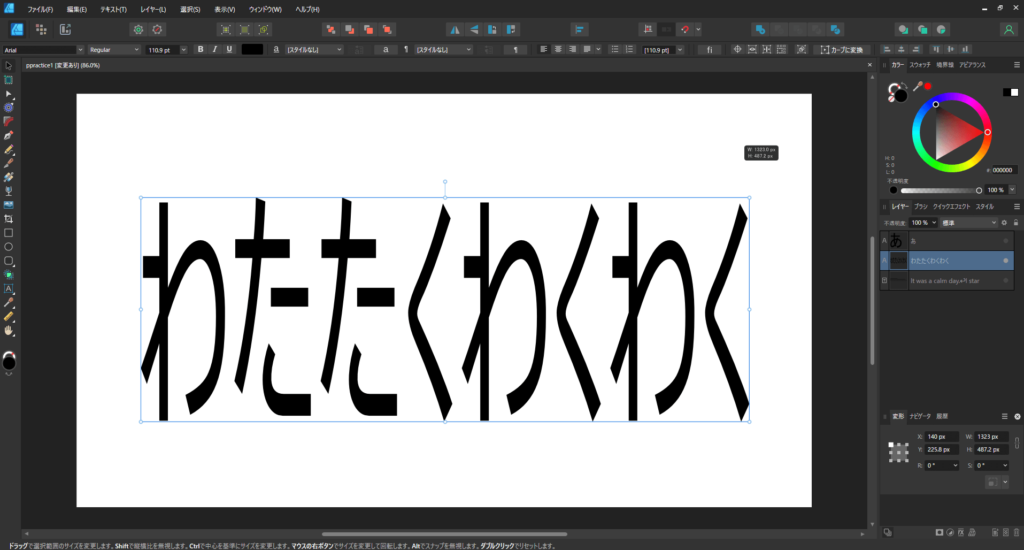
![](https://watatakusan.com/wp-content/uploads/2022/12/how-to-use-deformation-layers-in-affinity-designer-2-2-1024x548.png)
![](https://watatakusan.com/wp-content/uploads/2022/12/how-to-use-deformation-layers-in-affinity-designer-2-3-1024x550.png)
【使い方2】自由に大きさを変える
![](https://watatakusan.com/wp-content/uploads/2022/12/how-to-use-deformation-layers-in-affinity-designer-2-2-1024x548.png)
![](https://watatakusan.com/wp-content/uploads/2022/12/how-to-use-deformation-layers-in-affinity-designer-2-4-1024x548.png)
※途中でShiftキーを離すと縦横比が固定したまま大きさが変わるようになる
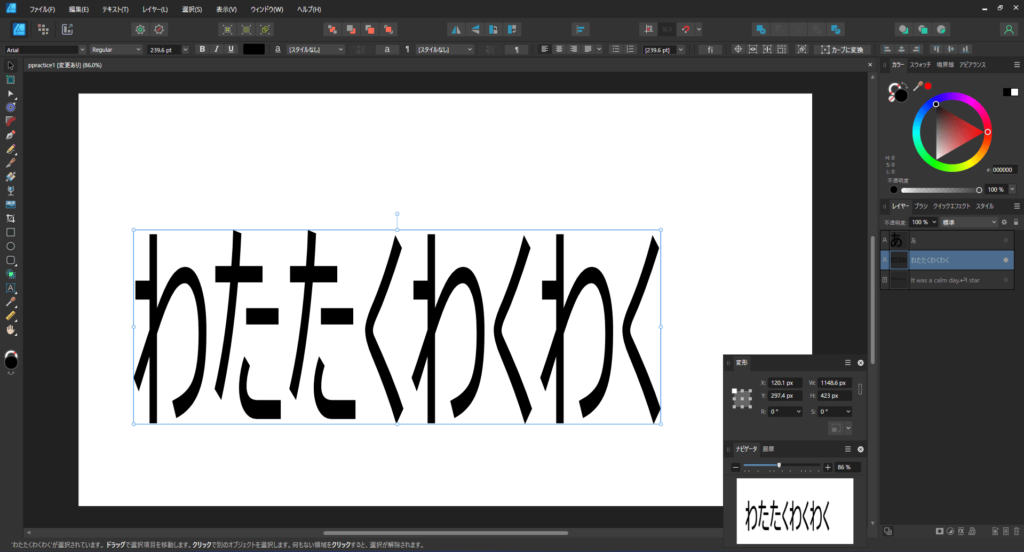
【使い方3】テキストや画像の中心から大きさを変える
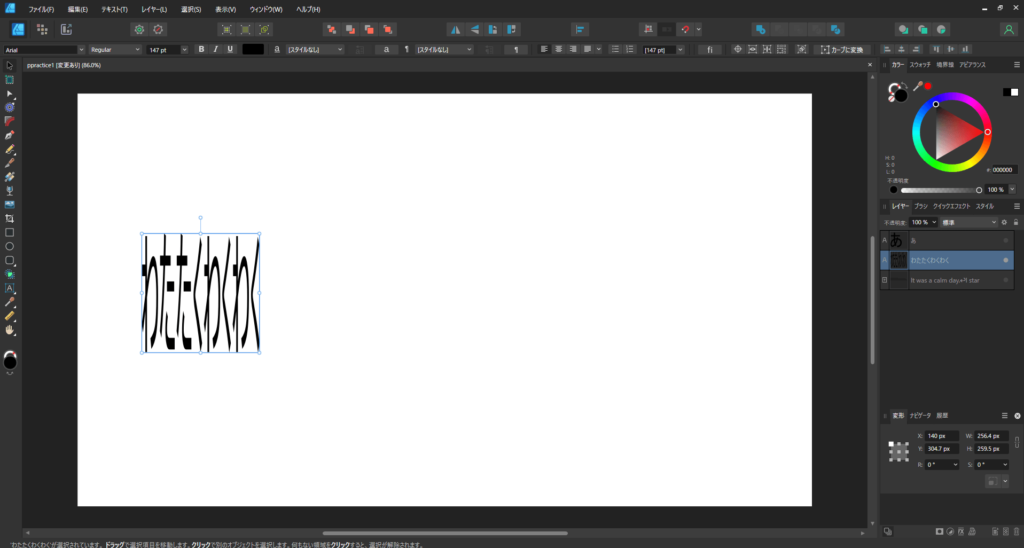
![](https://watatakusan.com/wp-content/uploads/2022/12/how-to-use-deformation-layers-in-affinity-designer-2-2-1024x548.png)
![](https://watatakusan.com/wp-content/uploads/2022/12/how-to-use-deformation-layers-in-affinity-designer-2-5-1024x554.png)
【使い方4】上下の大きさを変える
![](https://watatakusan.com/wp-content/uploads/2022/12/how-to-use-deformation-layers-in-affinity-designer-2-2-1024x548.png)
![](https://watatakusan.com/wp-content/uploads/2022/12/how-to-use-deformation-layers-in-affinity-designer-2-6-1024x552.png)
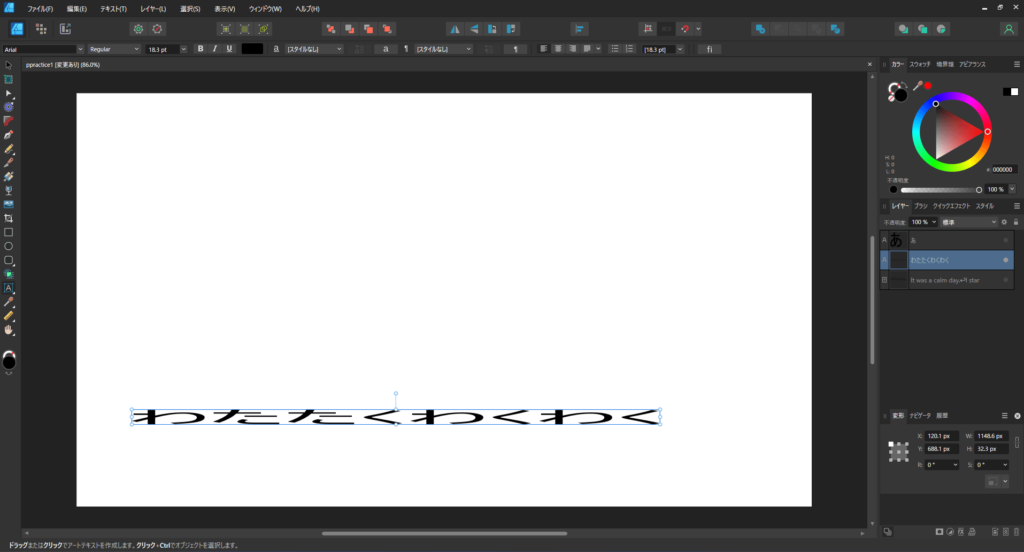
※Shiftを押しながら、ドラッグすると縦横比が固定されたまま大きさを変えることができる
【使い方5】回転させる
![](https://watatakusan.com/wp-content/uploads/2022/12/how-to-use-deformation-layers-in-affinity-designer-2-2-1024x548.png)
![](https://watatakusan.com/wp-content/uploads/2022/12/how-to-use-deformation-layers-in-affinity-designer-2-7-1024x548.png)
※shift押しながらドラッグすると15度ずつ角度を変えることが可能に
※左右の角にある白い丸付近にマウスを持っていき、曲がった矢印のアイコンが出たらクロックしてドラッグすることで回転させることも可能
※画面右下の変形と書いている部分に、数値を入力することで回転させることも可能
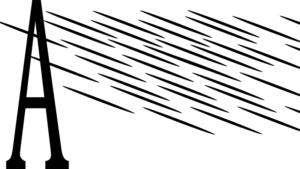
【使い方6】剪断(せんだん)する【斜めにする方法でシアーとも言います。】
![](https://watatakusan.com/wp-content/uploads/2022/12/how-to-use-deformation-layers-in-affinity-designer-2-2-1024x548.png)
![](https://watatakusan.com/wp-content/uploads/2022/12/how-to-use-deformation-layers-in-affinity-designer-2-8-1024x551.png)
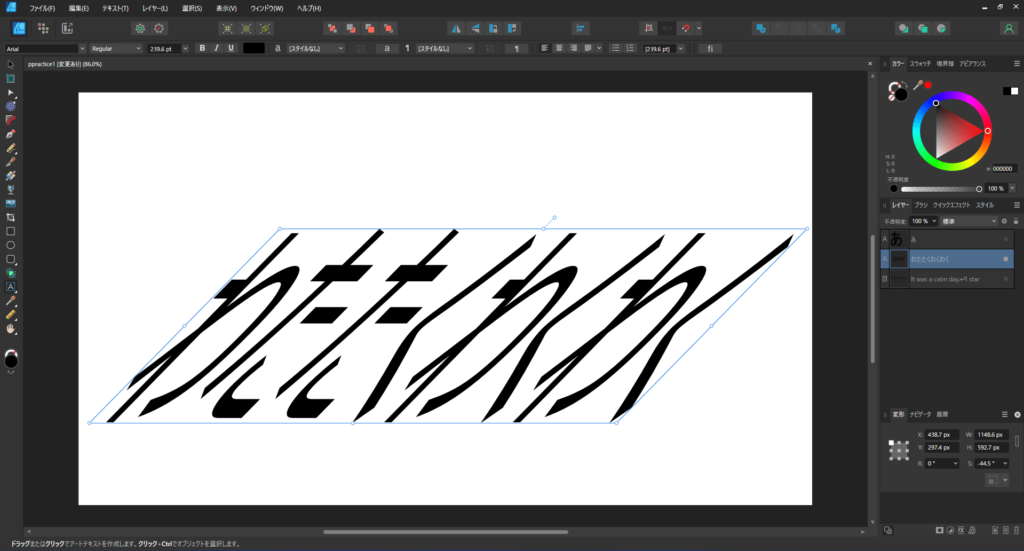
ctrlキーを押しながら、ドラッグするとレイヤーの中心を軸にして変形させることが可能
【デスクトップ版 Affinity Designer 2】多くのイラストや画像を一気に変形させる方法
![](https://watatakusan.com/wp-content/uploads/2022/12/how-to-use-deformation-layers-in-affinity-designer-2-13-1024x550.png)
![](https://watatakusan.com/wp-content/uploads/2022/12/how-to-use-deformation-layers-in-affinity-designer-2-14-1024x550.png)
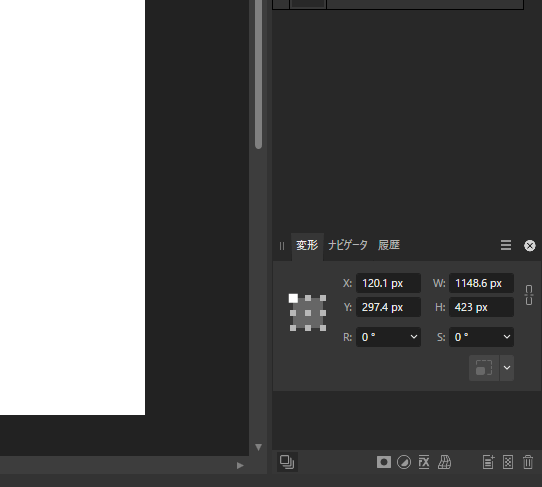
【デスクトップ版 Affinity Designer 2】右下にある変形パネルの6つの英語の意味
![](https://watatakusan.com/wp-content/uploads/2022/12/how-to-use-deformation-layers-in-affinity-designer-2-9.png)
各項目の上にマウスカーソルを置いておくと、意味が出てくるので覚えなくてもいいです。
Sだけはシアーと出てくるので、剪断と分かっておくていいですね。
【英語1】Xの意味
XはX軸の横軸。
【英語2】Yの意味
YはY軸の縦軸。
【英語3】Wの意味
Wは英語のWideの幅という意味の頭文字。
【英語4】Hの意味
Hは英語のHeightの高さという意味の頭文字。
【英語5】Rの意味
Rは英語のRotateの回転という意味の頭文字。
【英語6】Sの意味
Sは英語のShearの剪断(せんだん)という意味の頭文字。
【デスクトップ版 Affinity Designer 2】右下にある変形パネルの使い方
変形パネルをドラッグして移動させる
![](https://watatakusan.com/wp-content/uploads/2022/12/how-to-use-deformation-layers-in-affinity-designer-2-10-1024x548.png)
![](https://watatakusan.com/wp-content/uploads/2022/12/how-to-use-deformation-layers-in-affinity-designer-2-11-1024x552.png)
元に戻すときは変形を左クリックしてドラッグし、ナビゲータの横に持っていく
変形パネルのRとSはスライダーが出てくる
RとSの横にある∨のマークをクリックするとスライダーが出てきます。
回転か剪断したいレイヤーをクリックして、数値を変えたり、スライダーを動かしてみて効果を感じてみましょう。
![](https://watatakusan.com/wp-content/uploads/2022/12/how-to-use-deformation-layers-in-affinity-designer-2-12.png)
![](https://watatakusan.com/wp-content/uploads/2021/09/watatakuhukidashileft.jpg)
数値を変えれるのはちょっとした微調整をしたいときに便利。
![](https://watatakusan.com/wp-content/uploads/2021/09/smilegirlhukidashileft.jpg)
スライダーで大体の位置を調整して、数値で微調整するのも簡単だね。
【デスクトップ版 Affinity Designer 2】の変形パネルを使いこなすために作品をつくりました
- 移動ツール
- 変形
- 文字の入力
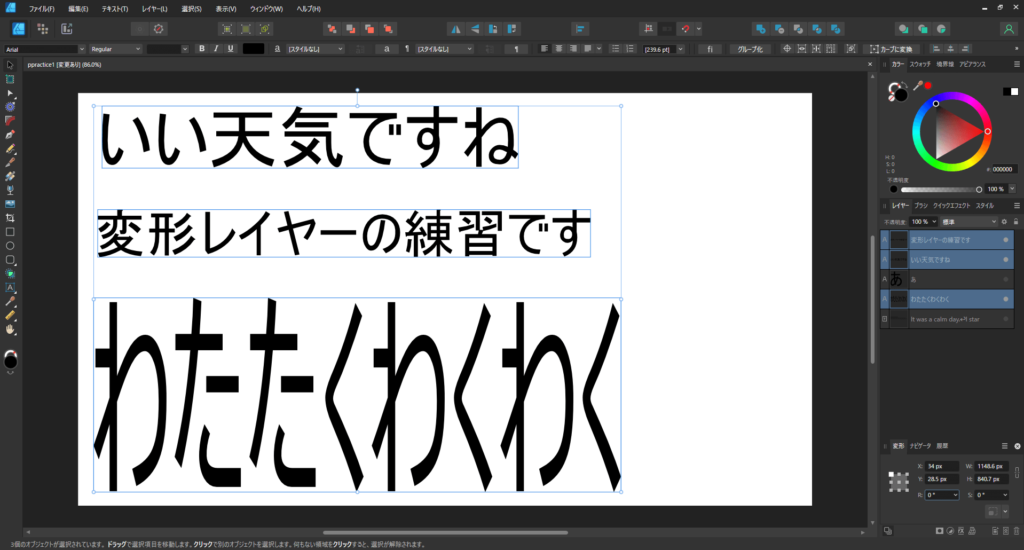
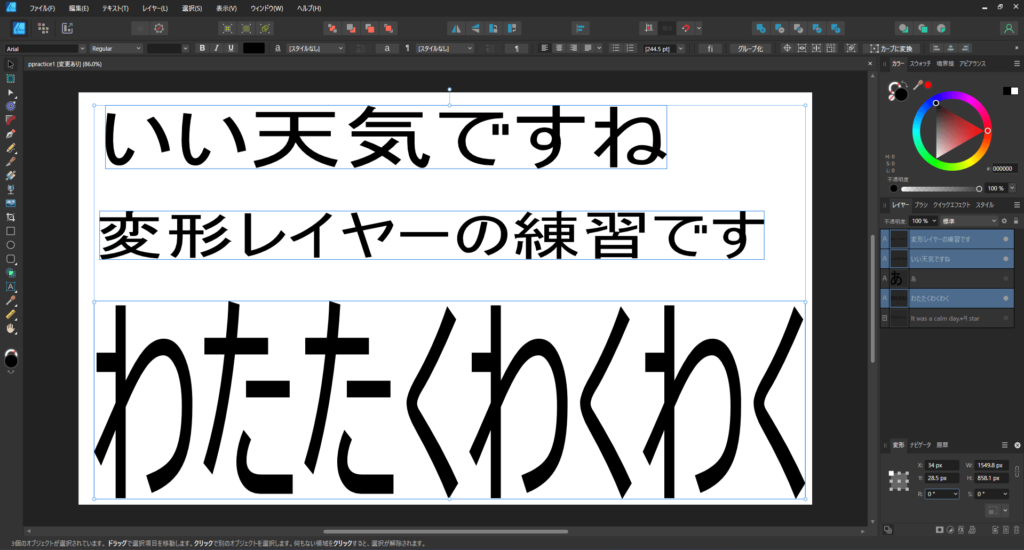
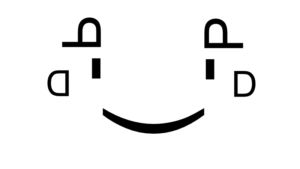
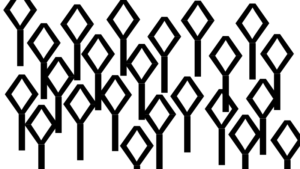
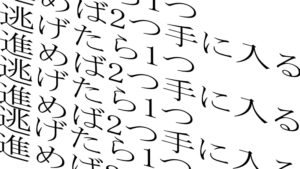
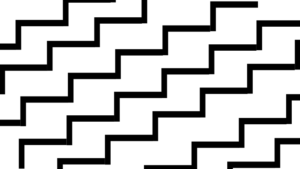
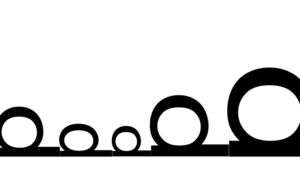
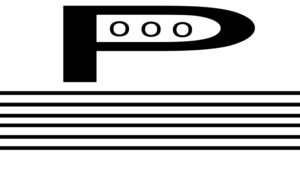
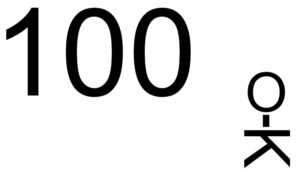
2022年12月26日の段階の僕ができるデスクトップ版 Affinity Designer 2の技術のみを使った作品をつくりました。
初めてデスクトップ版 Affinity Designer 2でつくった記念すべき作品たちですね。
文字を変形させながら組み合わせるだけでも、いろいろな表現できて楽しかったです。
やってみてください。
![](https://watatakusan.com/wp-content/uploads/2022/12/1-shootingstar2022-12-27-300x169.png)
![](https://watatakusan.com/wp-content/uploads/2022/12/2-smile2022-12-28-300x169.png)
![](https://watatakusan.com/wp-content/uploads/2022/12/3-signcopy2022-12-28-300x169.png)
![](https://watatakusan.com/wp-content/uploads/2022/12/4-luckyclover2022-12-28-300x169.png)
![](https://watatakusan.com/wp-content/uploads/2022/12/5-nigetarahitotu2022-12-28-300x169.png)
![](https://watatakusan.com/wp-content/uploads/2022/12/6-l2022-12-28-300x169.png)
![](https://watatakusan.com/wp-content/uploads/2022/12/7-snail2022-12-28-300x169.png)
![](https://watatakusan.com/wp-content/uploads/2022/12/8-traffic-lights2022-12-28-300x169.png)
![](https://watatakusan.com/wp-content/uploads/2022/12/9-ladder2022-12-28-300x169.png)
![](https://watatakusan.com/wp-content/uploads/2022/12/10-gymnast2022-12-28-300x169.png)
【デスクトップ版 Affinity Designer 2】変形レイヤーの使い方まとめ
- 動作が軽くて作業しやすい
- どこに何があるのか分かりやすく操作もしやすい
- 変形レイヤーを使えば表現力が非常に広がる
- 変形とテキストを組み合わせるだけでも様々な表現ができて楽しい
- 変形パネルで数値を入力して微調整しやすい
- 変形パネルでRの回転とSの剪断(せんだん)の位置を調整しやすい
- スライダーで大体の位置を決める
- 数値を入力して最終的な位置を決める
変形レイヤーは、これからずっと使う機能。
もっと上達できるように、ブログでAffinity Designer 2に関することをアウトプットしつつ、作品をつくりつづけていきます。